

How to get a 10/10 deliverability score for your emails
RailsFast can achieve a 10/10 email deliverability out of the box, as tested by mail-tester.com
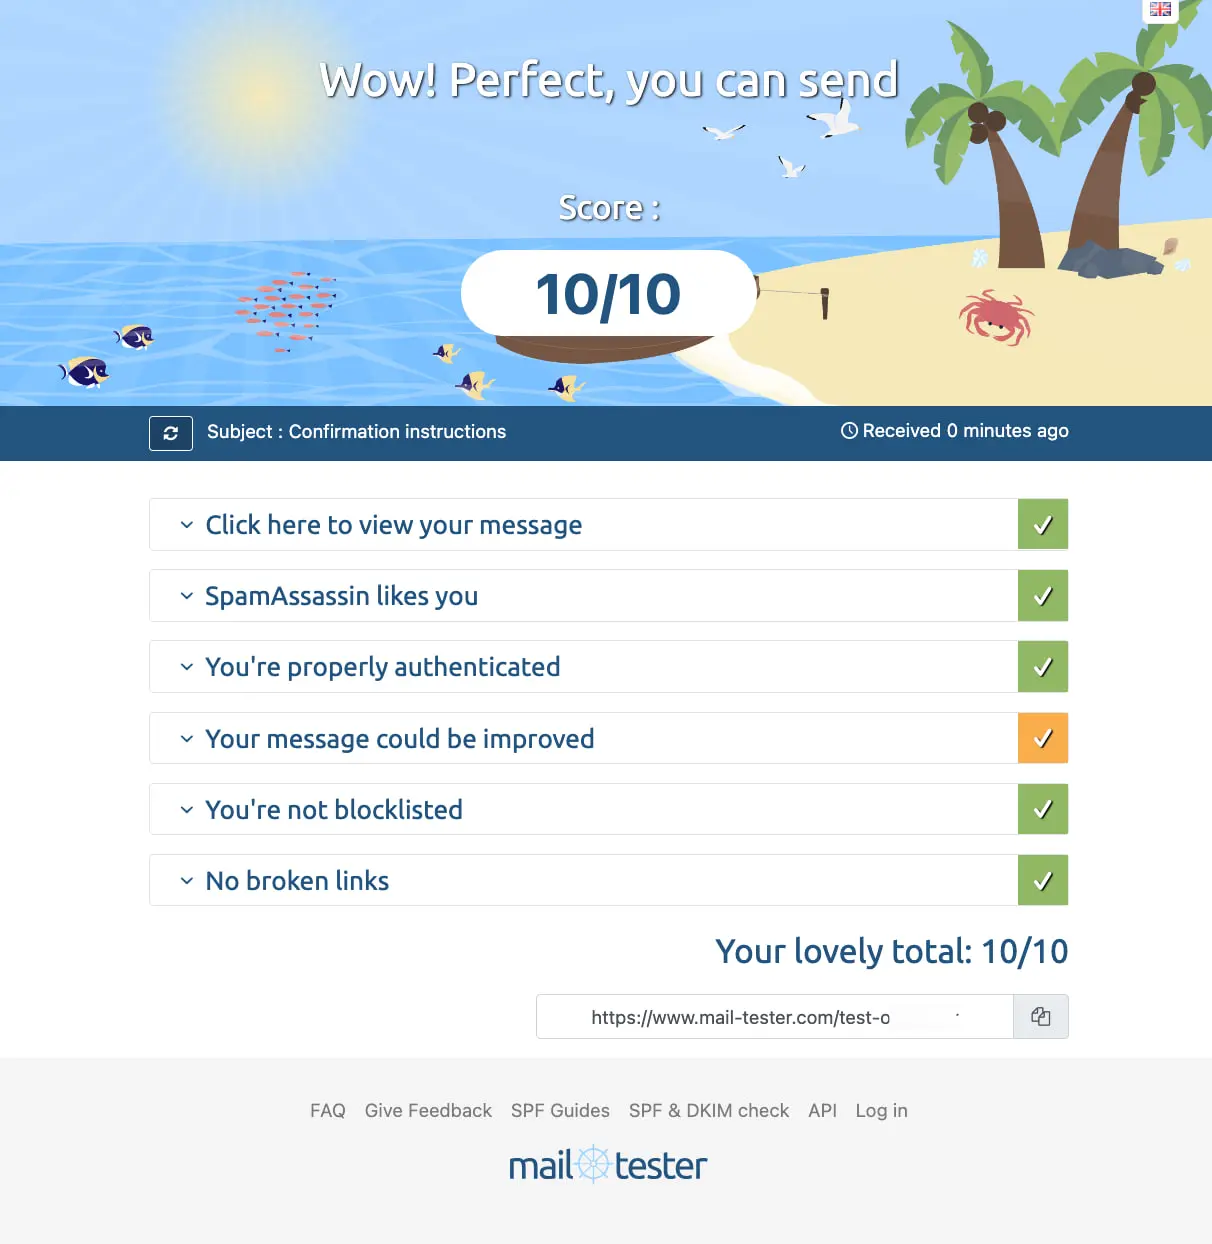
To achieve that, when configuring AWS SES for sending email, make sure to strictly follow these steps:
- Navigate to your Amazon SES dashboard
- Add your project domain name as a SES identity
- To do that, on the sidebar, navigate to Configuration > Identities and click [ Create Identity ]
- In the new page, select "Domain" as the new identity type
- Enter your domain
- Activate the "Use a custom MAIL FROM domain" checkbox
- In the MAIL FROM field, input something like
mail.<yourdomain.com>
- In the MAIL FROM field, input something like
- Scroll down and select "Easy DKIM"
- Select RSA_2048_BIT
- Leave "DKIM Signatures" active
- Click on the [ Crete identity ] button
- On the new identiy page, you'll see three main sections: DKIM, MAIL FROM, and DMARC. For each section, there's a "Publish DNS records" unfoldable item. If you click it, you'll see the DNS records you need to add to your domain's DNS to clear each section. It's a somewhat tedious job, but make sure you add all records right.
- Once you're done adding all records, scroll up in the indentity page in SES and click the refresh button. If everything went right, you should see your "Identity status: Verified", and the DKIM and MAIL FROM sections marked as successful. If that did not happen, give your DNS time to propagate (anywhere from some minutes to a few hours) and try again.
- RailsFast is configured with best email practices so that when you send a transactional email from Rails you should get a perfect 10/10 score (or pretty close to it) in deliverability: you can test it at mail-tester.com
Terminal / agent lane: check verification status without the dashboard — aws sesv2 get-email-identity --email-identity yourdomain.com --query '{Verified:VerifiedForSendingStatus, Dkim:DkimAttributes.Status, MailFrom:MailFromAttributes.MailFromDomainStatus}' (all three should say verified/SUCCESS — with Cloudflare DNS this typically takes ~2 minutes, not hours). Then prove the whole chain with a real email from production:
bin/kamal app exec --reuse 'bin/rails runner "Goodmail.compose(to: %q([email protected]), from: %q([email protected]), subject: %q(SES test)) { h1 %q(It works!); text %q(Sent from production via SES.); sign }.deliver_now"'The received message should show SPF, DKIM and DMARC all PASS in its headers.
After launch: the email lifecycle
Deliverability isn't a setup step, it's a lifecycle. Three things keep your 10/10 honest over time:
- Turn on Cloudflare's DMARC Management for the zone (Email → DMARC Management in the dashboard — free). It rewrites your DMARC record with a
ruareporting address and dashboards who is sending as your domain. Without reports, you're graduating policy blind. - Graduate your DMARC policy. The quickstart starts you at
p=none(monitor only) — that's correct for day one and wrong forever. After 2–4 weeks of clean reports (all mail SPF/DKIM-aligned, no legitimate source failing), move top=quarantine, and laterp=reject. It's a one-line DNS TXT edit — fully agent-executable via the same Cloudflare API lane as the quickstart. - Wire bounce and complaint handling in SES. Reputation damage is silent by default: create an SNS topic, subscribe an email (or endpoint) you actually read, and attach it to your identity's Bounce and Complaint notifications (SES → Configuration → your identity → Notifications, or a configuration set with an event destination). A rising complaint rate you don't see is how sending privileges die. SES's account-level suppression list is on by default — leave it on.